I’m a Safety Girl when it comes to Kids Sewing Classes!
I am so excited to share an article I wrote for the Craft Industry Alliance, a trade organization I joined about 2 years ago.
If you’re not familiar with CIA I encourage you to check it out. It’s a wonderful resource for all artists, crafters and crafty business owners.
The article I wrote is entitled:
6 Safety Tips to keep in Mind When Teaching Kids to Sew.
You can check it out on their website here.
– – – – – – – – – – – – – – – – – – – – – – – –
Needless to say, most of the time when we get parents inquiring about our kids sewing classes they immediately inquire about how safe it is for a 7-year-old to be learning how to sew on a sewing machine. I think their mind goes straight to their child sewing over their finger. When is reality while this is possible (sort of) it’s really a bit lower on the safety totem pole. Overall I think for a child to learn how to sew, it’s no more “dangerous” than a soccer game or a craft class, as long as you take some important precautions.
Here are my top six kids sewing studio rules that we go over with each and every sewing class we teach:
1. Ratio of Kids to Sewing Machines
I am a firm believer in not every kid in a sewing class needs their own sewing machine. We teach all of our classes with about a 2 to1 ratio of kids to sewing machines. And when the group of students is first learning how to sew, we’ll start with 2 machines and add machines as the class becomes better at stitching.
First of all, this takes the speed with which a child works down a notch. Kids tend to rush, rushing in sewing leads to messing up and/or getting hurt and we like our students to take their time so they can learn as they go. Yes, there are times when a student might have to wait to sew the next step in their project because there isn’t a free sewing machine. But we love this! This is the perfect opportunity for the student to slow down, watch someone else work on the sewing machine and boom – this is where the learning happens!
Less sewing machines also means the teacher can keep track a bit better of what is happening in the sewing classroom. For the sewing classes we teach, the teacher to student ratio is 8 to 1 and we are VERY firm on this number. With only four sewing machines to keep track of at once, the teacher can easily know exactly what is happening on each sewing machine at all times. The thought of 8 kids on 8 different sewing machines with only one adult is what my nightmares are made of.
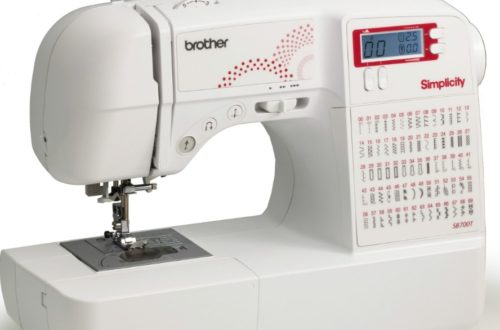
2. Speed Control on Sewing Machine
With kids classes, we ONLY teach on sewing machines where you’re able to adjust the speed you can sew on them. Our machines have three speeds: slow, fast & teacher speed. Needless to say everybody starts on slow, they must be granted permission to move to the next speed “fast” and absolutely no one can sew on “teacher speed” except of course the teachers.
I can’t tell you how important this sewing machine feature is in our sewing classes. It gives the teacher piece of mind that no matter how young or inexperienced our students are (typically the youngest we teach is age 6) there’s not a lot of damage that can be done on “turtle” speed.
3. Red Painters Tape on Sewing Machines
Since little fingers DO fit under the presser foot and needles can go through fingers *above* the presser foot we implement one other very important sewing machine rule in all our sewing classes. Each of the machines has red painters tape in the shape of a box around the throat plate and bobbin case. This is the no finger zone when sewing and soon our sewing students don’t even think twice about keeping their fingers far from the area where the needle is going up and down, eliminating the chance of it accidentally going into a small finger.
4. Threading the sewing machine only when machine is OFF
Thankfully most little stitchers have wonderful eyesight. Therefore they don’t need the sewing machine light when they thread the needle. The rule in our sewing studio is that the sewing machine MUST be OFF when threading the needless of the sewing machine. This way there is no possible way for the needle to accidentally sew while they are putting the thread through the needle. Seems like a nit picky thing, but I can tell you how many times kids feet accidentally hit the wrong peddle when sewing. Imagine this – one child is threading their machine, another child hits the machine pedal under the machine being threaded thinking it’s their pedal. It’s not a pretty site and we only had it happen once and then immediately introduced this rule!
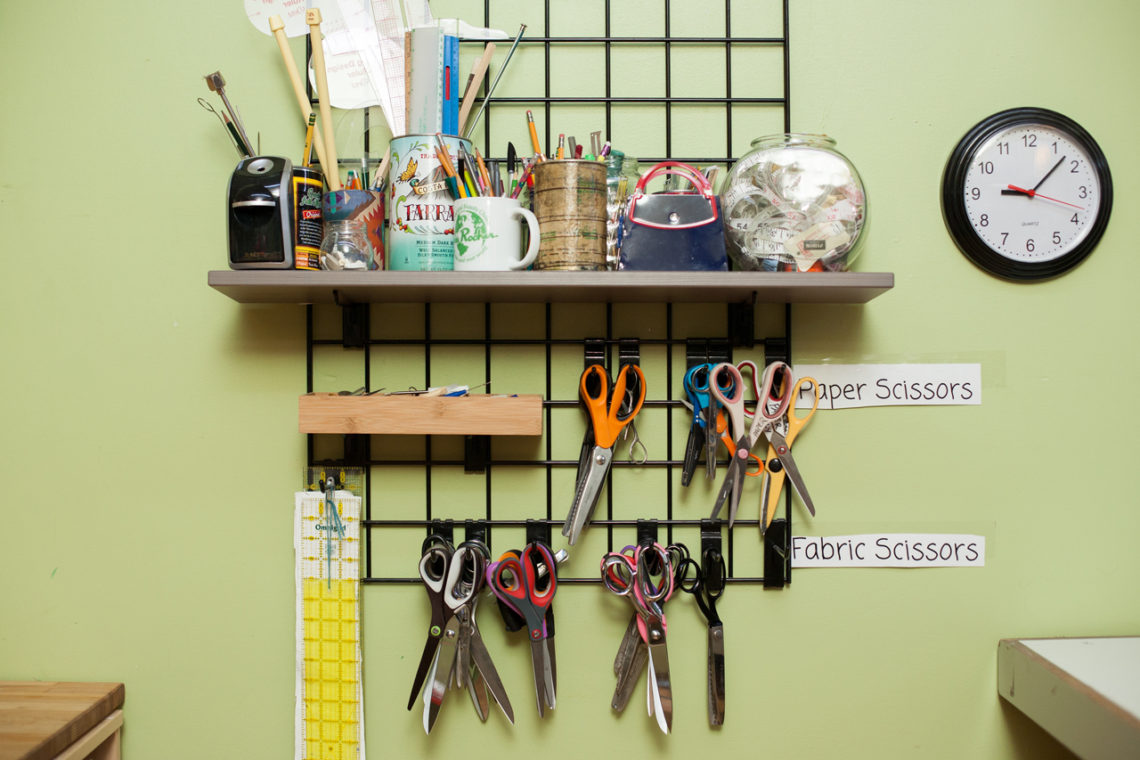
5. Handling Scissors
All the standard scissor rules apply in our sewing studio: Walk with the blade in your hand, when handing someone a pair of scissors hand them the handle first, no air cutting, no cutting paper with fabric scissors, etc. But one of the things we have in our studio that works really well is having different levels of fabric scissors. All of our fabric scissors hang on our scissor wall in their respective sections. Based on age & skill level, they only use a certain level of scissor. We’ve got small handled scissors that are sharp and cut beautifully but in the wrong hands, there might be stitches involved. So for these young/beginner students we have small handed scissors that will cut fabric, but are in no way sharp enough to cut flesh. As students show us their cutting abilities improve, the type of scissor they can use will move to the next level.
6. Pins & Pin Cushions
The last safety concern in the sewing studio is the pin cushion.We have TONS of pin cushions around the studio. We always have multiple free standing pin cushions on each of the cutting tables and we have a small pin cushion attached to each of the sewing machines. Our philosophy is that the more pin cushions we have, the less random pins on the tables, floor and in each other. We teach our students form the very beginning that when you are sewing your project and you come to one of your pins, you must stop sewing, take the pin out of your project and put it directly into the sewing machine pin cushion. Again, this may sound a little nit picky, but less chance of stray fingers moving too close to the needle going up and down.
We also teach them from the beginning how to gingerly handle the pin cushion when moving it from place to place. Grab it from the side, never underneath. And if you ever see a stray pin cushion on the floor, immediately stop what you are doing, pick it up and put it back on the table so no one has a chance of stepping on it.