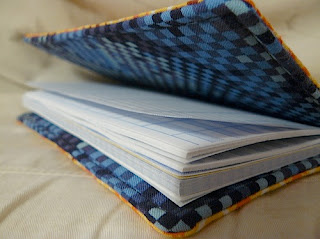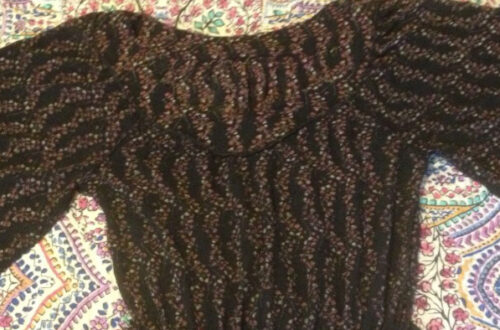
Who wants a fabulous checkbook cover?!
I know I want one!
I found this cute checkbook cover tutorial linked to one of my favorite blogs Craftzine. Since our meet up group challenge is in a few days I thought it would be perfect to show a project that again requires less than a pound of fabric. There are several steps to the tutorial but Step 5 is optional so you can pretty much stop there! It all depends on how detailed you want the checkbook cover to be. Check out the tutorial and maybe you will be inspired to make one!
*A project by Kristine Tsai
Step 1: Cut the fabric
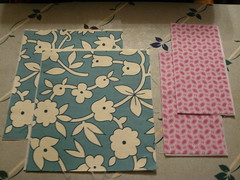
From the outer fabric, cut two 7×8-inch (WxL) pieces. Cut two pieces of interfacing the same size.
From the pocket fabric, cut two 7×7-inch pieces. Cut two 7×3.5-inch pieces of interfacing.
Cut two 2×4-inch strips of the outer fabric.
Cut a 7-inch piece of 1/4-inch elastic.
Step 2: Make the pockets
Take one pocket fabric piece and fold it in half wrong sides together. Press. Open the pocket up again and insert the interfacing between the layers and close the pocket again.
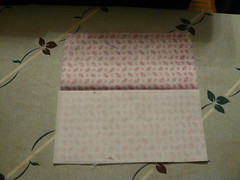
You should now have a nice 3.5×7-inch pocket. Baste along the open edge (the one across from the folded edge) together. If you’re a fan of top-stitching, top-stitch across the folded edge. You can also use some fancy stitches here if your machine has them.
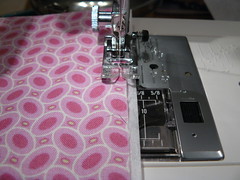
If you want to embroider anything on the pockets, now is the time to do so. Keep in mind that you’ll lose about 1/2+1/8 inches around the sides due to the seams and top-stitching.Repeat for other pocket.
Step 3: Prep the Outer Cover and Lining
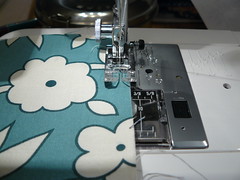
Take each outer fabric piece and baste the corresponding piece of interfacing to it.Now is a good time to decide which cut of the outer fabric you prefer to be on the outside of your checkbook. Place that one aside.
Step 4: Complete Lining (Pocket Placement)
Take the other outer fabric piece (this will be the lining of the checkbook) and place the pockets width-wise, lining up the raw edges. Make sure the folded edges of the pockets face each other and the center. Baste around all 4 sides.
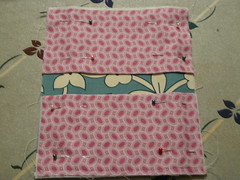
From here, I’ll refer to the transaction register pocket as the “top” pocket, and the check pocket as the “bottom” pocket.
Step 5: Closures and Holding Pieces
This step is optional. Depending on how you like your checkbook, you can use these ideas or come up with completely different ones.
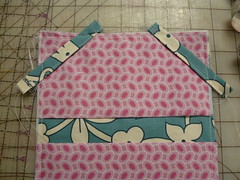
a) First, we’ll make some pieces to hold the used pages of your transaction register.
Take one of your two 2×4-inch strips. Fold in half length-wise (wrong sides together). Open up and then fold the long edges towards the crease you just made and fold it in half again (pretend you’re making a really tiny and skinny bag handle). Sew 1/8-inch across the open long edge. There should be no raw edges on the long sides now, and your strips should be 1/2×4-inches.
Repeat for the other strip. You can also use ribbon here if you prefer instead of making your own strips.Position these pieces on the top pocket at a 45-degree angle, approximately 1.5 to 2-inches from the corner in each direction. Baste in place and trim off excess.
b) Now we’ll add a piece of elastic to hold the checkbook closed.
Take your 7” piece of elastic. Place it about 1.5-inches up from the bottom of the bottom pocket. Baste in place.
Step 6: Putting it together
Take the outer piece you set aside earlier. Now you want to decide which part will be the “top” (the side you’ll see when the book is sitting on your desk) of the checkbook exterior once you fold it in half. Embroider as desired (I originally wanted to do initials, but I was too lazy to). Take care in accounting for the 1/2-inch seams and 1/8-inch top-stitching when positioning your embroidery.
Pin right sides together with the inside piece. Make sure you orient the exterior piece so that the top part of the exterior faces the transaction pocket part of the lining. Sew along all four sides with slightly more than 1/4-inch seam allowance to hide all the basting stitches. Don’t forget to leave a gap for turning! I usually put the gap at the one of the shorter edges. Turn right side out and press.This is what it should look like. You can see how our optional holding pieces from Step 5 will work.
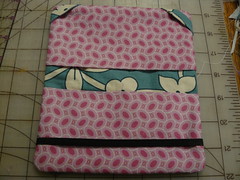
Now is the time to check the fit of the cover with your checkbook stuff. Upon putting it in, you want at least 1/4-inch space of horizontal wiggle room to accommodate the top-stitching. If you have too much excess wiggle room, flip the cover inside out again and stitch around with a up to 1/2-inch seam allowance. I had some variation when I made mine—the first one used a 1/2-inch seam allowance and it turned out perfect. The second required a 1/4-inch seam allowance along the length (8-inch direction) but could still use a 1/2-inch seam allowance along the width (7-inch direction).Once you’re happy with the fit, clip the corners and trim the seams to reduce bulk.
Step 7: Finishing it off
For the last time, turn right side out, press, and then topstitch around the entire edge. We’ll be closing gap you left for turning with this topstitch.
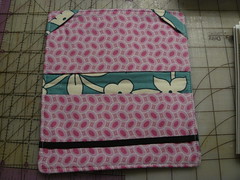
Press again. Fold in half, and press the crease. Insert checks/transaction register and you’re done! HURRAH!
