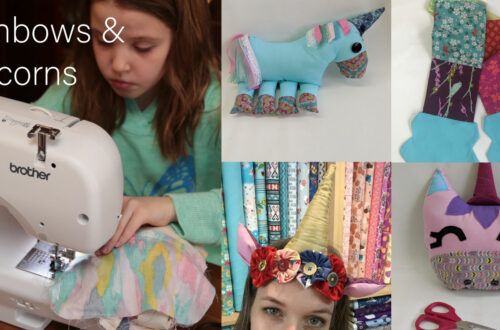
We Always Need More Pin Cushions.
For some reason in our sewing studio, we can always use a couple new pin cushions. For the life of me, I cannot figure out where all the pin cushions go, but good thing for us, they’re super easy to make!
And adorable pin cushions are definitely something that every stitcher should have. It’s the perfect place to store all the pins we need for making sewing projects.
We’ll today we have for you a super quick, step by step on how to make your very own adorable pin cushion! The perfect project to make with a class of new stitchers, or one at one at home with your little seamstress.
Start by cutting out two squares or rectangles (of the same size) of some really cute fabric. We’re using 6″ x 6″ in this project, but you can get creative with your size.
Place both pieces together, with right sides touching and sew along 3 sides using 1/2″ seam allowance.
Should look something like this:

And here is a closeup of the stitching:

Next, turn the fabric right sides out and stuff with pillow fill.
It should now look like this:

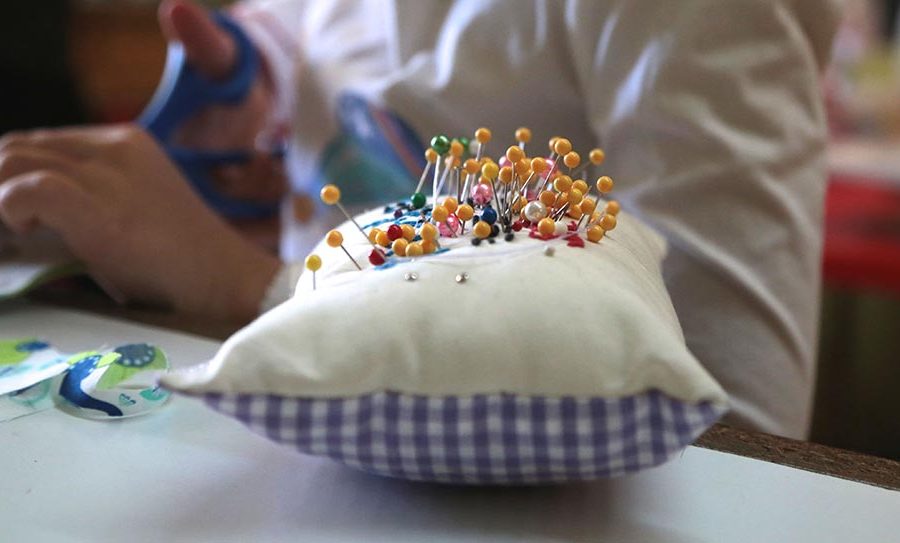
Now turn the raw edge over, tucking in about 1/2″ and secure in place with straight pins.
Should resemble this:

Now, top stitch the edge you just pinned using a sewing machine (using 1/4″ seam allowance) or by hand, like in this photo. As you will see, being super neat isn’t our top priority.
We don’t mind a nice big, messy hand stitch, as long as their are enough stitches so it doesn’t fall apart.

Voila! The perfect beginner sewing project that I guarantee any stitcher will use for years to come!