10 Ways to Authenticate Your Photo Shoot
…
This weekend I was talking with some friends of mine, Rhys & Leticia, who were visiting from out of town. It basically turned into a mini business meeting because they too are entrepreneurs with a similar teaching business. They run a music school out of their home in Amherst Massachusetts. We all know how fun it is to talk shop with someone doing something similar to what we do.
At first we were talking about our websites because they are in the middle of making a new site. I was super surprised to hear that they’ve been running they’re website up to this point without a class scheduling software. I know firsthand what it takes to schedule kids for classes and camps without using one, and I was impressed that their school was as successful as it is without it. They were still literally interacting with each and every student personally to get their registration information. Oh the hours that must take each and every day!
It was nice to hear some of the nice compliments they had for my sewing studio website. I have always designed and maintained it all by myself and I consider it a labor of love. I enjoy working on it and how it forces me to learn new things and keeps me semi-current in the knowing some of the ins and outs of website design and construction. I highly recommend that if you’re a business owner to learn how to update your website yourself!!! You’ll need to make quick changes on it all the time and what a bonus to not have to pay someone else to do it for you!
The thing that kept coming up in our website conversation was the photographs. They kept saying that based on my website, taking a class at M Avery Designs Sewing Studio looked like so much fun! And how it really seemed like all the kids in the website photos looked like they were having an amazing time! Thank goodness this is what they thought when they saw the website because that is exactly what I was going for! To be honest, portraying that wasn’t all that difficult because that is truly what is going on in the photos.
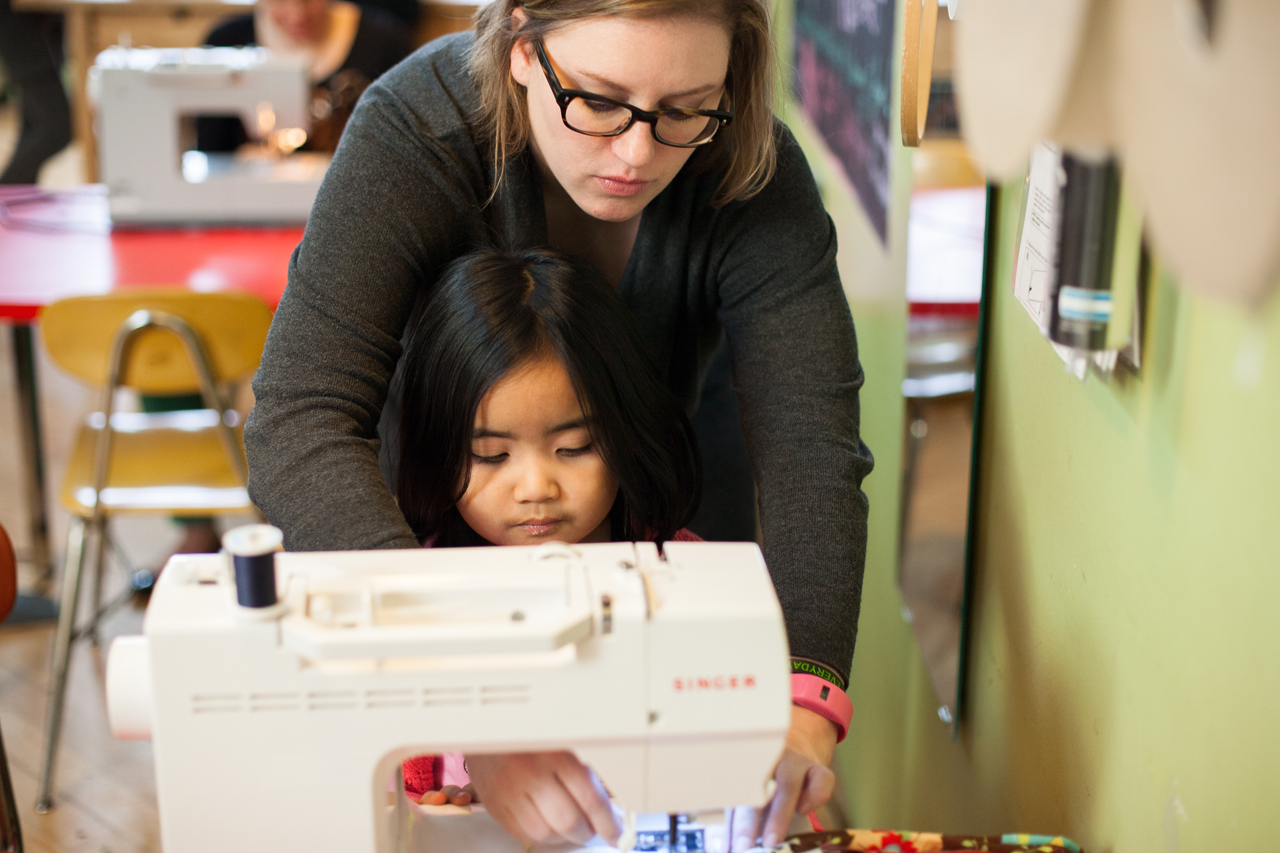
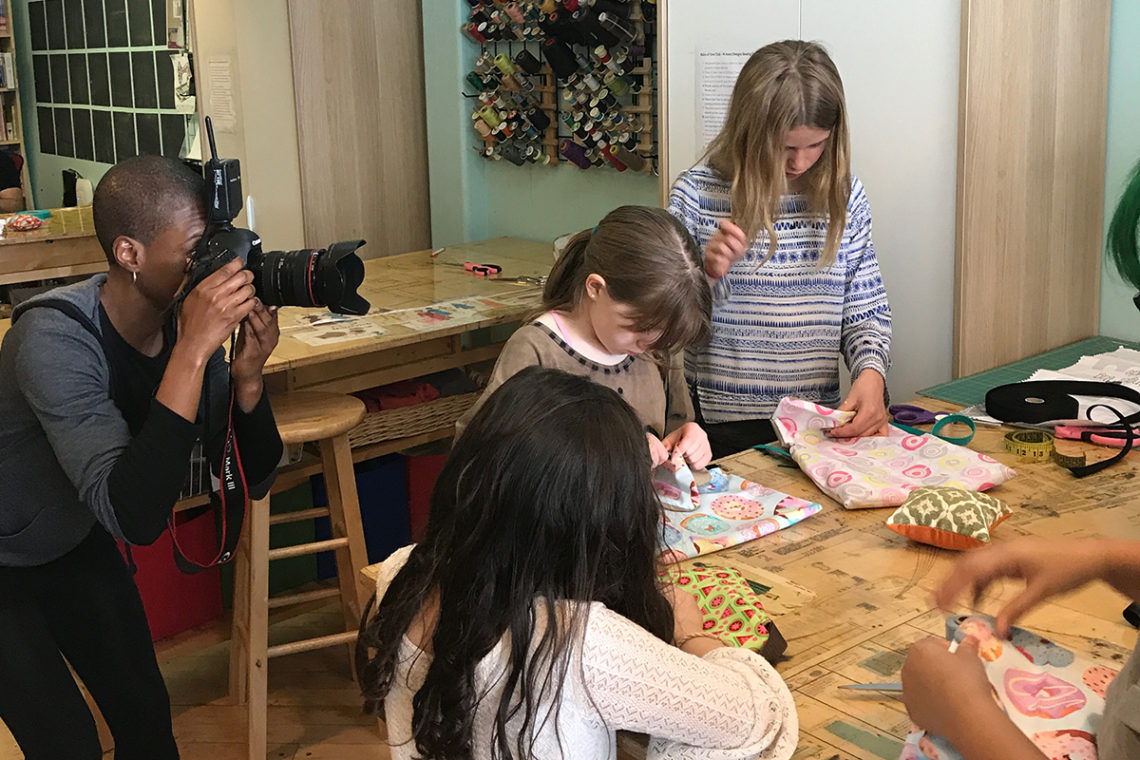
All the photos on my website are REAL students of M Avery Designs making REAL sewing projects. We sometimes use candid snap shots of taken by the teachers during a class. But mostly the website photos are taken by a photographer at a photo shoot. But even though the shots are taken at a photo shoot, the photos look real because they are! I’ll tell you how this is possible.
When we have a photo shoot, it’s basically set up at the studio like a real sewing class. The kids & adult “models” are there because they are real students who love to sew! They’re not only excited to be part of the shoot, they’re psyched to be learning how to make a new projects that day! The photos have a much more authentic feel to them when the subjects of the photo are actually excited about a cool project they are making. The reactions are sincere and the photos taken on a shoot like this come out 100 times better than if the photos were staged.
My photographer & friend Melissa Blemur, really has a knack for taking action photos like this. She has a way of fading into the background that my students and photo subjects don’t even remember she is there snapping away. Maybe this is because of her backgrounding wedding photography. In a way, shooting something like this and shooting a wedding are probably pretty similar. Something real is happening and the photographer’s job is to capture it without making everything too staged or posed.
This type of photo shoot takes place at my studio about once per year and I’m excited because we have one coming up this Sunday!! I ask students our classes who I know are easy to work with and who would enjoy doing something like this to meet up on a Sunday morning for the shoot. I prepare a couple of different types of projects for them to work on and let them do their thing. I am there to help them along the way, but mostly they are super excited to have a couple of hours of uninterrupted sewing in our space. The people I ask to participate are never paid, but honored to be featured students in our upcoming promotional materials and website.
I have put together a top 10 list of helpful suggestions for doing a real life photo shoot of this type. I hope you read and it helps you to put together a shoot at your studio.
1. Prepare multiple projects that will showcase a variety of skills and situations. Even if you have only a little time (photographers can be very expensive!) this will ensure you get lots of different photos that can be used for your website and other promotional materials. I typically prep embroidery hoops, fabric, needles and thread for a fun hand sewing project. I will also have a couple of machine sewing projects prepped that the kids & adults can choose from to easily work on during the photoshoot.
2. Even if the photo shoot is over, be sure to allow your models to stay and finish up their project. Don’t forget these are your customers, just because the photoshoot is over, make sure you allow time for everyone to finish up. It’s only fair!
3. Separate the kids from the adults in all your shots. Unless you frequently hold sewing classes where kids and adults sew together, try to make sure the adults and the kids sewing in your studio for the shoot don’t wind up in the same photographs. While I’m sure they will look nice, you’ll be disappointed when you need photos to promote your summer camp and all the photos taken have adults sewing next to kids. This just won’t make sense to use for the summer camp section of your website. Since we typically have kids classes and adult classes at out studio separate, I divide the studio up between kids and adults ask the photographer to try to keep the shots of kids, kids only and vice versa.
4. Ask everyone to arrive about 45 minutes to 1/2 hour before the shoot. This way there is ample time to give everyone the low down of whats about to take place at the photoshoot. Make sure they know what they’ll be making and give them all the instructions for the shoot so you can be ready for the time that the photographer starts shooting. You can find out things to tell them before the shoot if you reach out to your photographer beforehand. instructing everyone to try to look at the photographer or even pretend they are not there is usually a good bet.
5. Get the parents involved in the photo shoot! Some of the best photographs I have from photoshoots are of the parents of kids who I’ve asked to come and model for the shoot. Because they’re already there hanging out watching their kid in the shoot, they’re happy when I ask them to get involved! Typically they’ve not taken a sewing class before and so if you ask them nice if they’d like to learn how to sew, more often then not they’re super excited to try sewing for the first time in your studio in front of the lens as as subject of your photo shoot! There’s nothing better than capturing the authenticity of someone sewing for the VERY FIRST TIME!
6. Don’t be afraid to be in the photoshoot yourself. We’ve already got TONS of photographs of proud students holding up their finished projects. We’ve even got tons of snaps of our students in action at the sewing machine or cutting & pinning their project. But how many photographs do you have of yourself actually teaching and helping your sewing students. This is your chance to be included in the photographs this time. Don’t be shy and don’t think about the camera. Just do what you do best, teach your students how to sew. If you’ve hired a good photographer, they will do their job and make you look amazing!
7. Wear more makeup than you are typically comfortable with. I am not a makeup person at all and for the last few shoots I’ve had my makeup done professionally before the shoot. I think it’s fine if your students aren’t wearing makeup, but be sure to wear a little to bring out your eyes and mouth in the shoot. Not sure what to do and can’t afford a professional makeup artist. Head out to Sephora and get a little makeover before the shoot. If you don’t have time for the makeup before the shoot (mine is Sunday morning, before Sephora is even open.) Just try to pay really good attention to what they do when they are doing the makeover and try to replicate it yourself. Get a friend to help if this is not your thing! Always be sure to then purchase one of the products they used in the makeover!
8. Bring snacks to keep your models happy! You want to keep your models happy so in order to do this, I always bring food. Nothing crazy, but having some snacks and drinks on hand at the shoot always make the models happy!
9. Make sure you and your photographer are on the same page! I typically send an email to the photographer a couple of days before the photoshoot as like a little wish list of shots that I’m looking to get from the photoshoot. Also I try to look at the shots from the photographer as the shoot is going on. This is a good way to make sure he/she is capturing the things you were hoping they would. THere’s nothing worse than getting the proofs a week later and It’s nothing like what you had hoped they would be.
10. Send Thank You Notes to your Models! Be sure to send out notes to the models that helped you make your photoshoot extra special. It’s just right 😉
Hope you found my tips helpful! And cannot wait to see your next photoshoot photos!

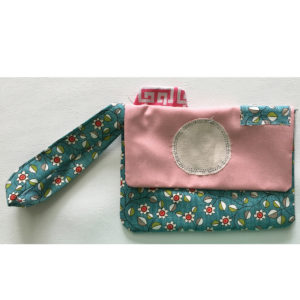
PS: If you’re digging the photo purse sewing project that’s included in the post, it’s part of our Kids Modern Life Kids Sewing Project Curriculum and can be found here.